
-
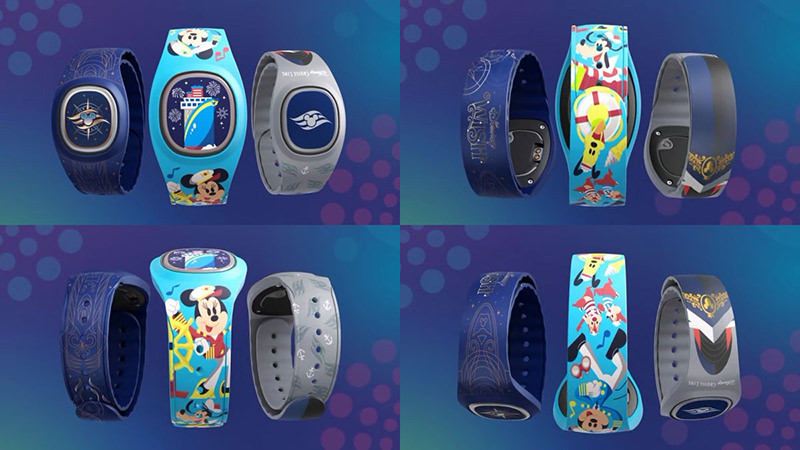
Disney Cruise Line announces DisneyBand+
April 21 2023 -
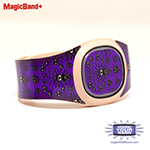
MagicBand+ Skins Now Available
September 19 2022 -

MagicBand+ Just Announced
October 01 2021 -
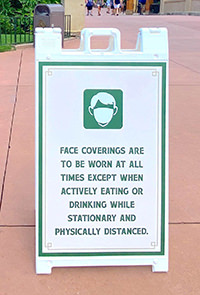
Disney Face Covering Policy
August 13 2020 -
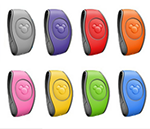
MagicBand 2 Colors for 2021!
June 27 2020
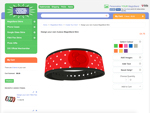
How to use our 3D Custom Magic Band Skin designer
Often, we’ve been asked to go into more detail about the “create your own design” tool for your Disney Custom Magic Bands. So let’s take a look at the steps that are taken when creating your custom design, along with some of the features that our online software provides. This will give you a much better idea of the versatility of your Walt Disney World Resort magic band and the ways in which you and your entire family can get the most out of your Disney parks experience.
The Skins for MagicBand 2 all come in 3 pieces. There’s one piece for either side of the MagicBand and then another piece to cover the center ‘Icon’ or ‘Puck’ of the MagicBand. Whatever design you choose, we always supply the icon sticker but you can select whether or not you want to apply it to your Magic Band depending on your personal preference and whether or not you want to be able to see the Mickey Icon. Please note that regardless of whether you cover the middle with your Skin it wont in any way change the way that your band will work in the Disney parks.
This is the first step when it comes to making your Disney experience something that feels unique to you and your family. When you have completed the design of your custom magic bands, you will have a sense of a personalized experience that will last you and your family for your entire lives! No other vacation can come close to the magic that Disney provides.
By choosing the color of your Disney custom magic band, you will have a band that is pleasing to the eye, as you wear it during your visit to the Disney theme parks. This makes your band an even more enjoyable part of your Disney experience. We want your time at Disney to be an all-encompassing memory in which every part of your trip will be something to remember. This even includes the possibility of holding on to your custom magic bands as a keepsake for future memories.
Adding images
Your Custom MagicBand cover design uses different layers. There are three layers (plus the middle Puck) that you can work with, but you can choose to use 1, 2 or all three layers. It’s up to you. The first layer is the background layer, in which you can choose a design from our large image library. Or you can choose to upload your own image for the background. We suggest that if you would like to cover your whole band with your background image, that you use an image that is at least 2300 pixels wide and 270 pixels high. But larger is also fine.
This is, by far, the most enjoyable part of your magic band’s role in your theme parks experience. While having your favorite color added to make your band something that feels unique to you, having your favorite image on your band, increases that by quite a bit! We suggest that you take the time to choose an image that is unique to you and upload that for your magic band. A family photo is perfect for this. You may also wish to choose an image that has a different type of sentimental meaning to you and your family.
But don’t think that you will be limited to just one image. When it comes to your Disney parks bands, you can also choose multiple images to use. This option is perfect for families that have difficulty voting on just one image. We want every member of the family to feel as if they are having a vacation that is focused on them, as an individual. Not to mention the fact that it can be a lot of fun for a family get together to decide on the images that will be used for your magic bands.
You can even make a “game” out of your selections. For example, you can have different categories such as “family photos”, “Disney characters” and other types of images that you wish to add. This will serve to get everyone involved in your Disney vacation experience, even before you visit the parks!
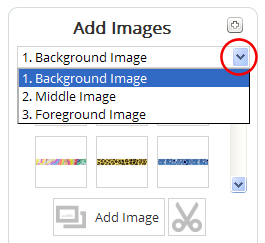
Therefore, for your Walt Disney World Resort Magic Band, you can even add more images. You can do this by choosing different layers in the “add image” drop-down box. Your images will be called:
· “Background Image”
· “Midground Image”
· “Foreground Image”
· “Puck/Icon Image”
This is the order that your images will show on your design should your images overlap.
Finally, your Disney theme parks Magic Band can have your text added to it in a wide range of sizes, colors and fonts. You can choose to add your name, the date of your Disney experience or even an emergency phone number. You can also choose not having text at all.
These options are perfect for those who wish to have their custom band saved as a keepsake for their vacation. Each saved band can have the person’s name on it or you can have the exact date of the experience placed on the band, as well. The option of an emergency phone number shows that Disney cares for the well-being of those who have chosen to visit their theme parks.
After previewing and approving your new design, just choose how many that you want and place it in your online shopping cart! We hope that we have been able to show you how to get the most from your Disney magicbands options!
Don’t forget to link your new MagicBand 2 through your My Disney Experience Account where you’ll be able to access your resort reservations, annual pass (if you have one) and your FastPass reservations.